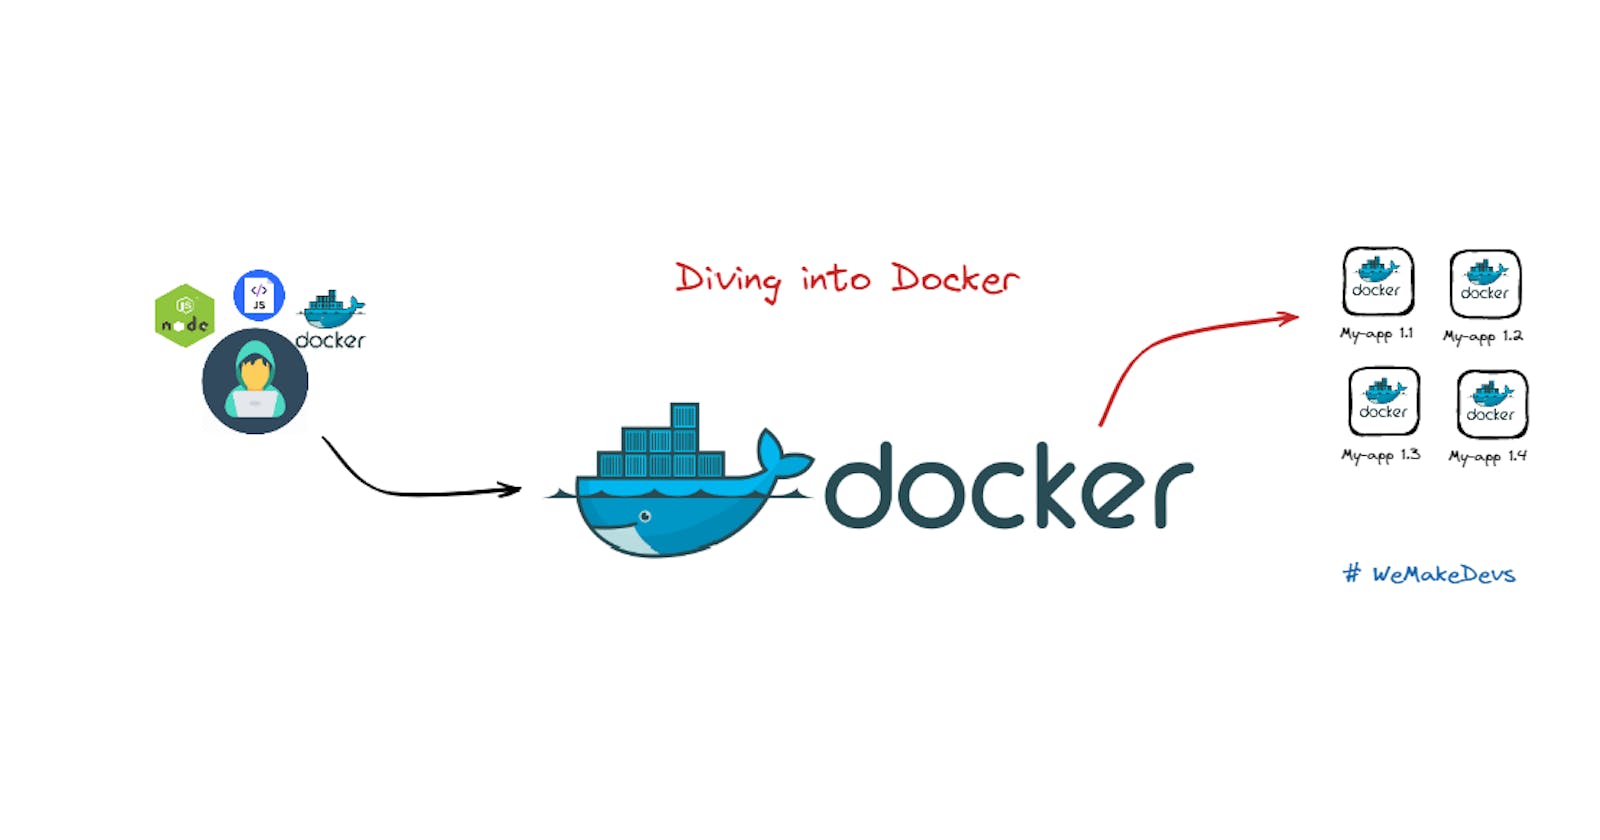
Diving into Docker: A Beginner's First Project
A step-by-step guide to building your first Docker project


Greetings 👋 to all DevOps enthusiasts out there! Are you ready to dive into the exciting world of Docker 🐳 and build your first cool project?
In this blog post, you'll find a comprehensive, step-by-step guide that will help you get started with Docker, even if you're a complete beginner.
By following this guide, you'll not only learn the basics of Docker but also gain practical experience by building your first project. So, if you're eager to explore the wonders of Docker and take your DevOps skills to the next level, this guide is for you!

Have you ever encountered a scenario where an application you've created runs flawlessly on your machine, but when you share it with someone else, it just doesn't seem to work as expected on their system? Frustrating 🤯, isn't it?
Well, it's a common problem that many developers face. This issue arises due to differences in the environment of each machine, which can cause compatibility issues. But what if there was a solution to this problem?
What is Docker?
Docker 🐳is a revolutionary platform that allows you to create and distribute applications in a way that ensures they run smoothly across any environment.

It is a cutting-edge containerization platform that enables rapid building, testing, and deployment of applications. Developers define their applications and dependencies in a Dockerfile, which is used to create Docker images that encapsulate the entire application stack and define a Docker container. This ensures that applications can run consistently across any environment, simplifying the management and deployment of applications.
Why use Docker?
Docker is a versatile platform that offers numerous benefits to developers and organizations. By utilizing Docker, developers can streamline the application deployment process and ship their code faster. Docker provides greater control over applications by allowing them to be deployed on containers that are easier to scale, roll back, and troubleshoot.
It also helps save resources, leading to cost savings. Docker-based applications can be seamlessly moved from local development environments to production deployments, making it easier to deploy and maintain applications. Docker can be used for a variety of purposes, such as Microservices, Data Processing, Continuous Integration and Delivery, and Containers as a Service. With Docker, developers can achieve greater efficiency and agility in their development processes, making it an indispensable tool in modern software development.
Development process before containers?
Developers are required to install and configure all services directly on their OS or local machine if they intend to run it in their OS.
The installation process varies for each OS environment, meaning developers may encounter different steps depending on their operating system.
There are many steps involved in the installation process, making it a complex and potentially error-prone task for developers.
If an application uses 10 services, each developer must install and configure all 10 services separately
Development process with containers?
With containers, you don't have to install any services directly on your system because with docker you have that service packaged in one isolated environment.
So as a developer, you don't have to go and look for some binaries to download and install on your machine but rather just go and start that service as a docker container using a single docker command which fetches the container packages from the internet and start it on your computer.
The docker command will be the same regardless of which operating system you use and it will also be the same regardless of which services you're installing.
Docker standardizes the whole process of running any services on any local dev environment. In addition with docker, you can even have different versions of the same applications without having any conflict.
Deployment process before containers?
The development team would produce application artifacts or packages together with a set of instructions on how to install and configure that application package on the server. The development team give that artifact over to the operations team and then they have to handle installing and configuring apps and their dependencies.
Problems of this approach are that,
you need to configure & install everything directly on OS
you can have conflicts with the dependencies version
miscommunication btw the development team and operations team
Deployment process with containers?
With containers, this process is simplified because developers create application packages that don't include code itself but also the dependencies and the configuration for the application.
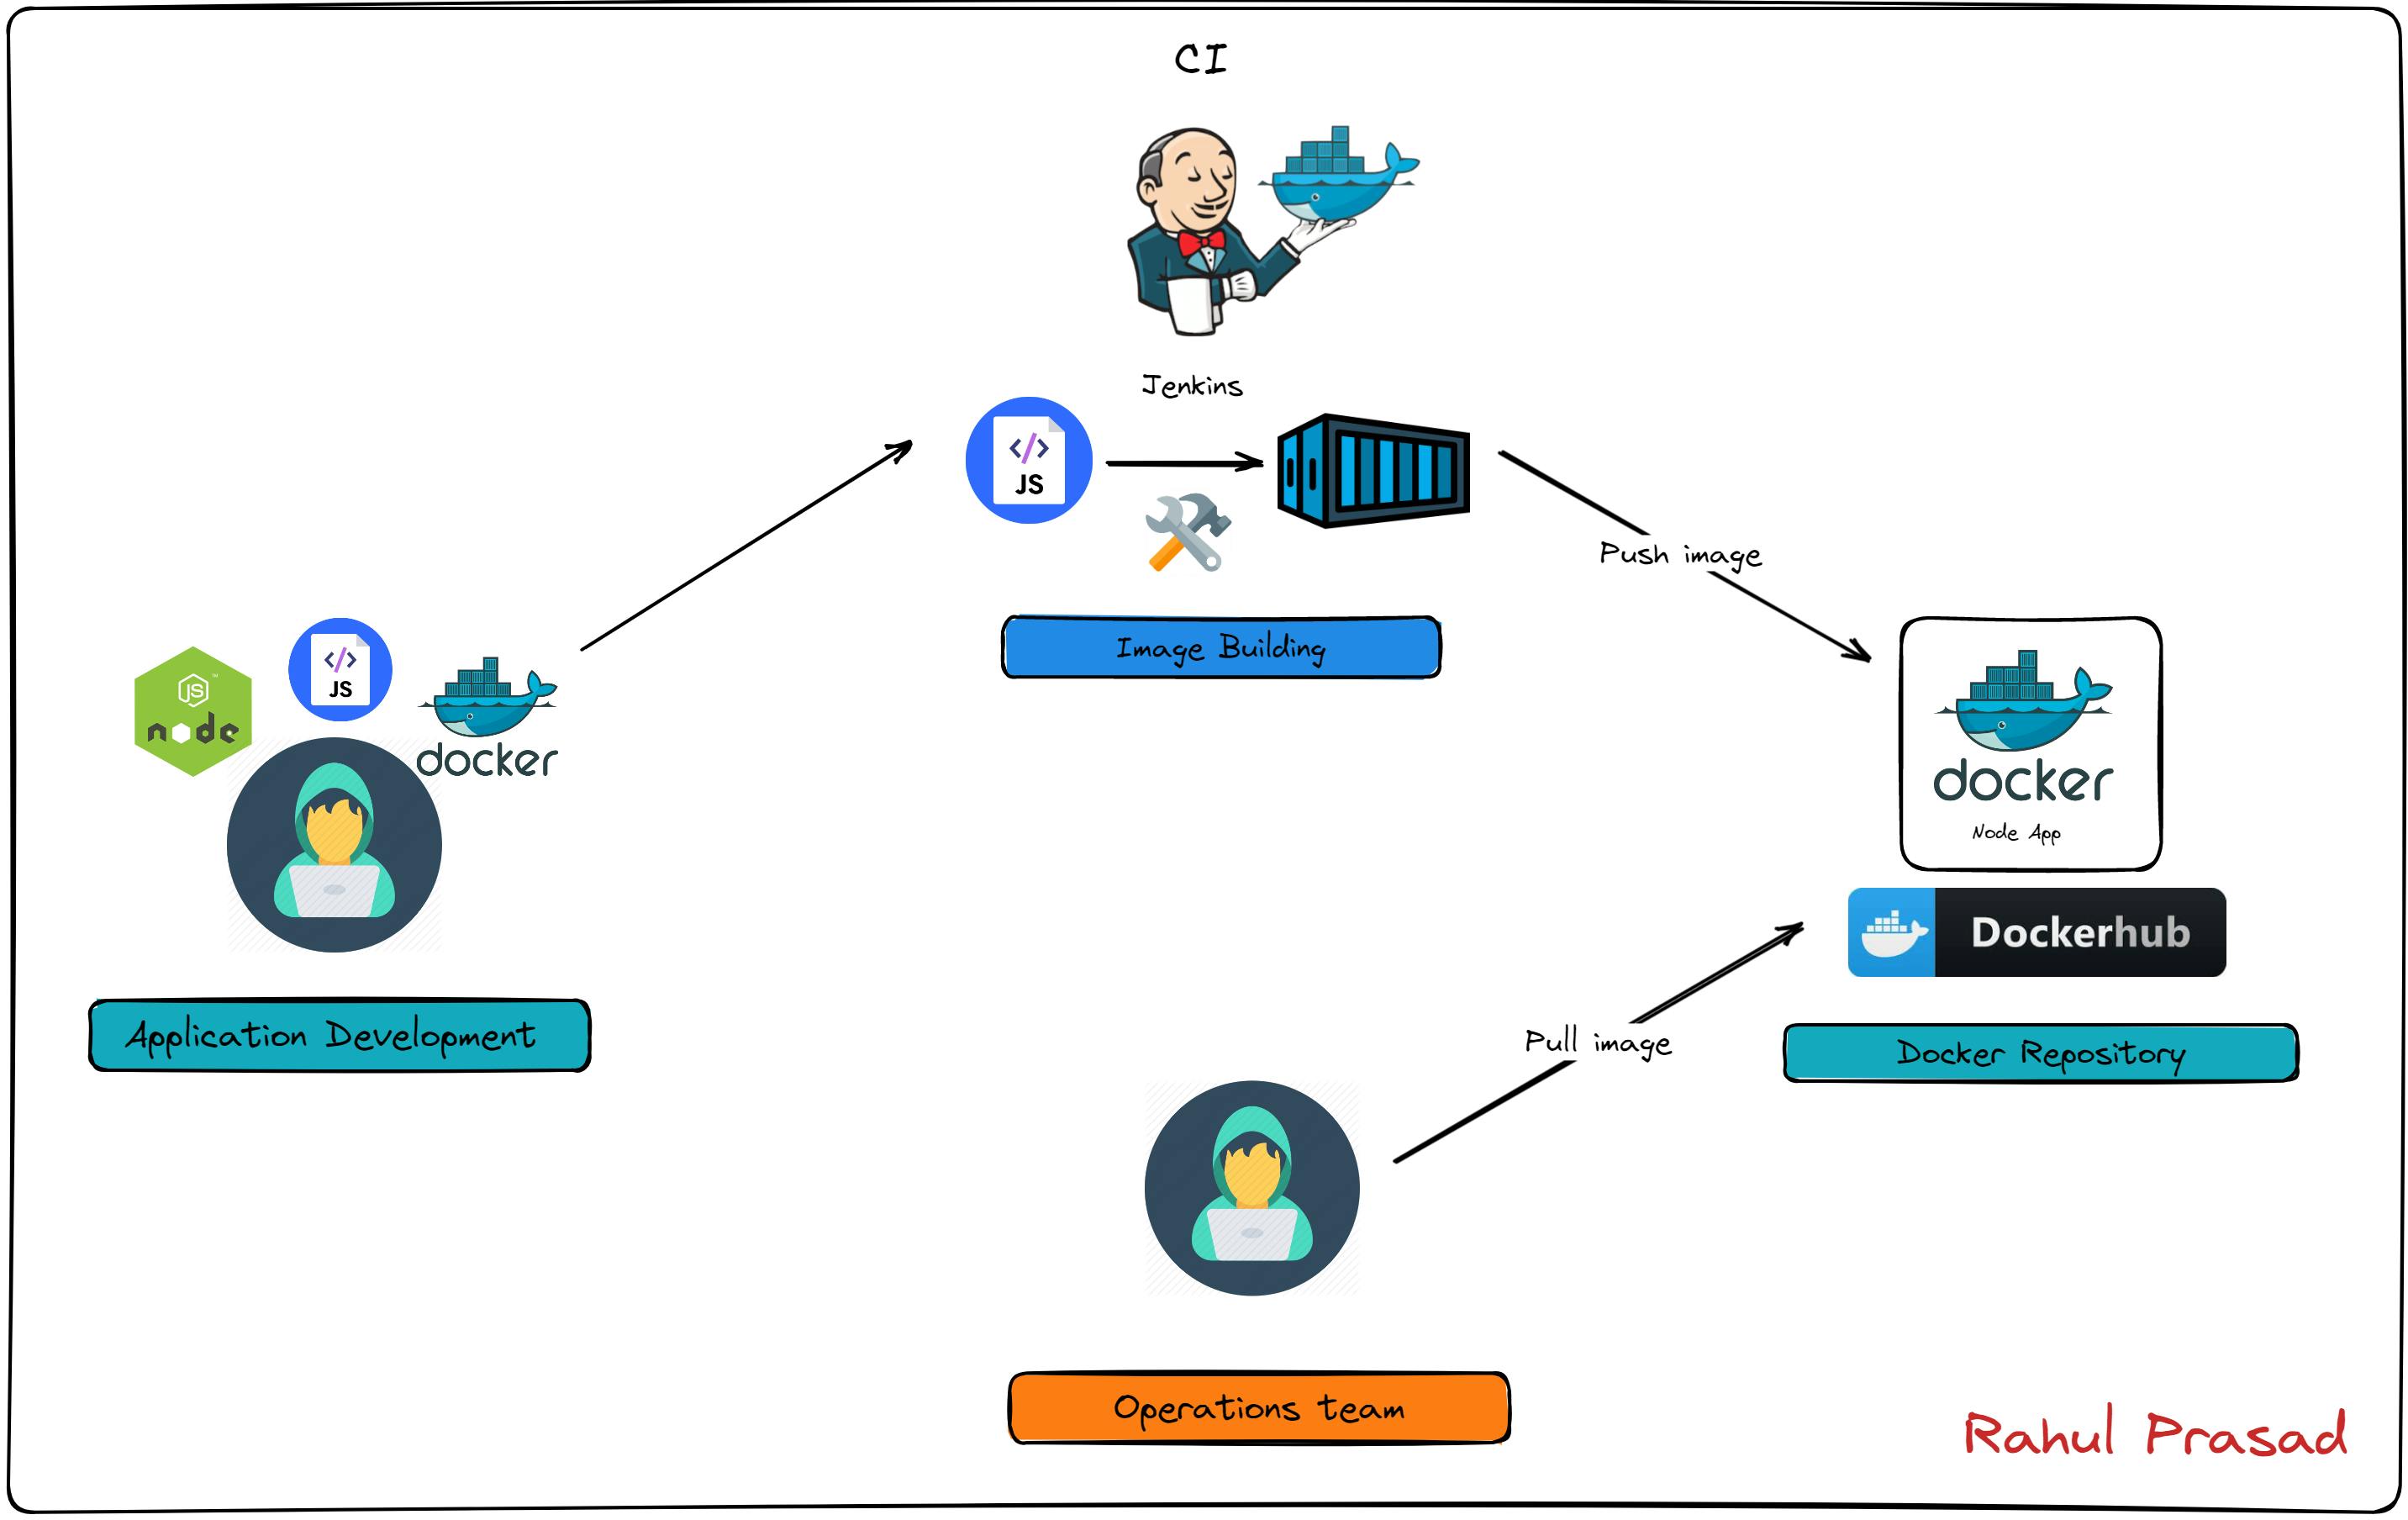
So instead of writing down textual documents they just package all that inside the application artifact and since it is encapsulated in one environment the operations team don't have to configure any of this stuff directly on the server.
It makes the whole process much easier and there is less room for issues. So the only thing the operations team need to do in this case is to run the docker command that gets the container package and runs it on the server.
How to Dockerize your app?
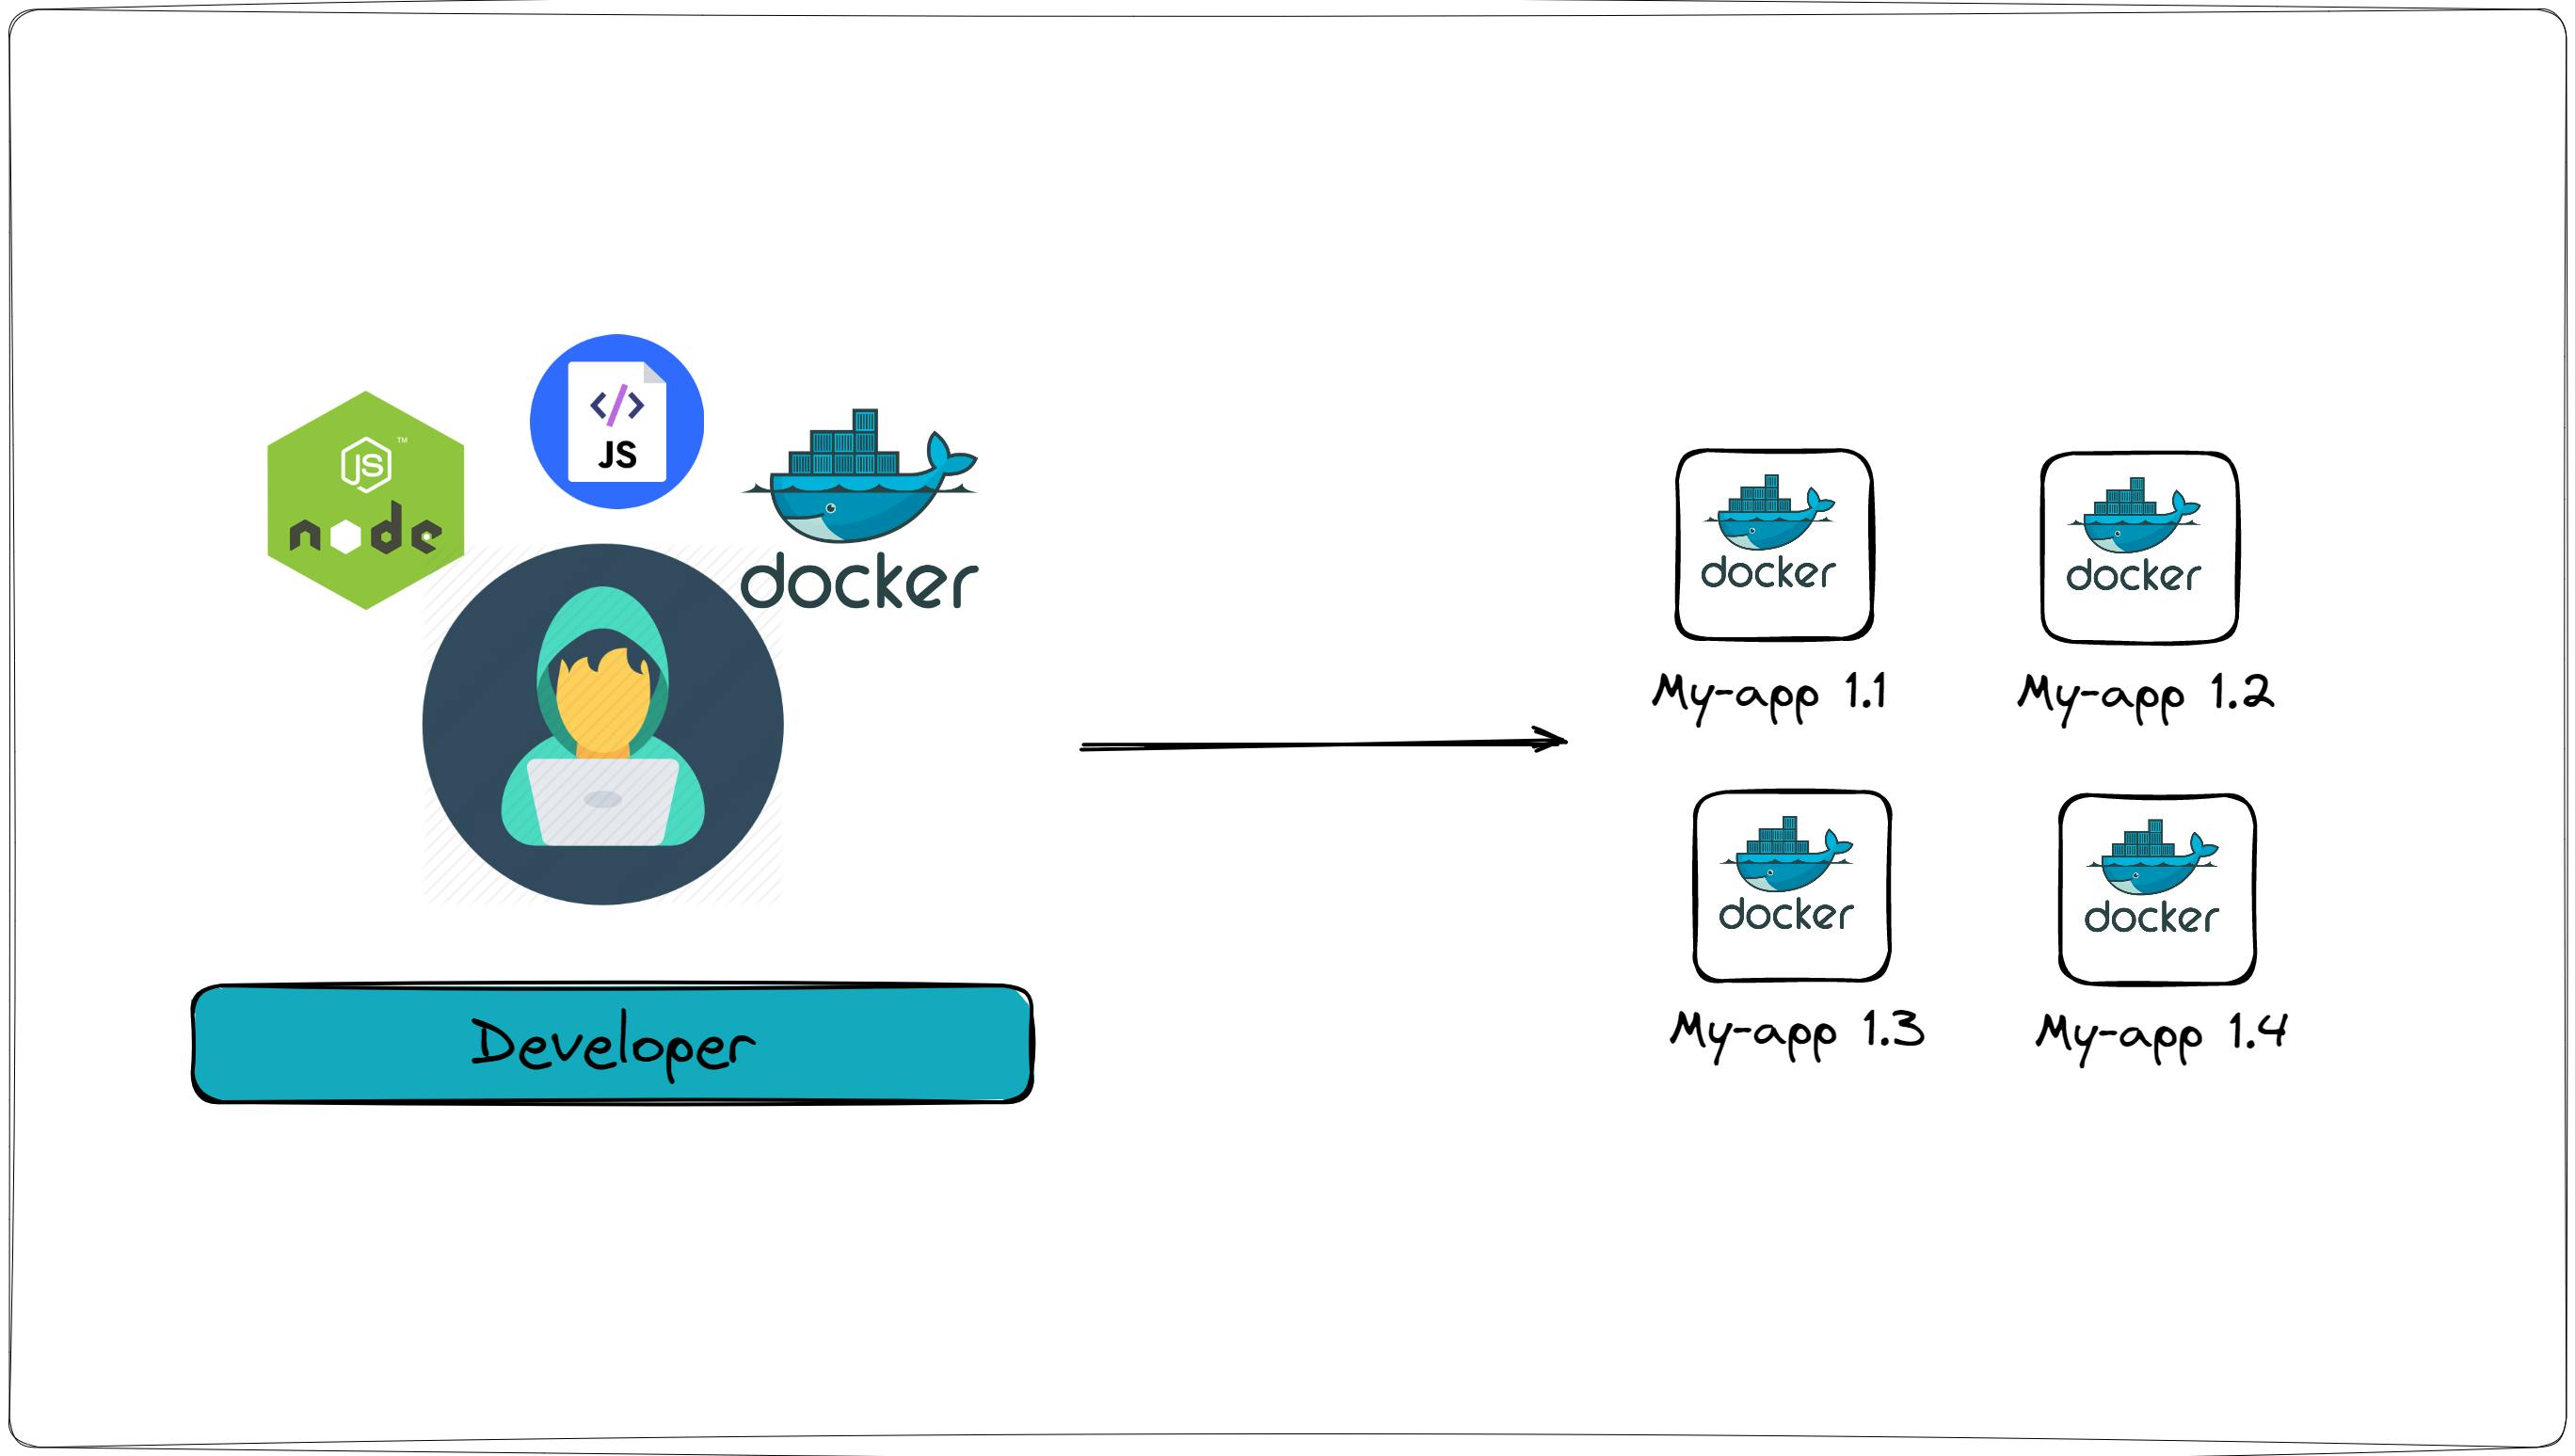
Companies or developers create their own custom images for their applications. So how does that work? How can I create my own docker image for my app?
For that we need to create a "Definition" of how to build an image from our application and that definition is written in a file called "Dockerfile".
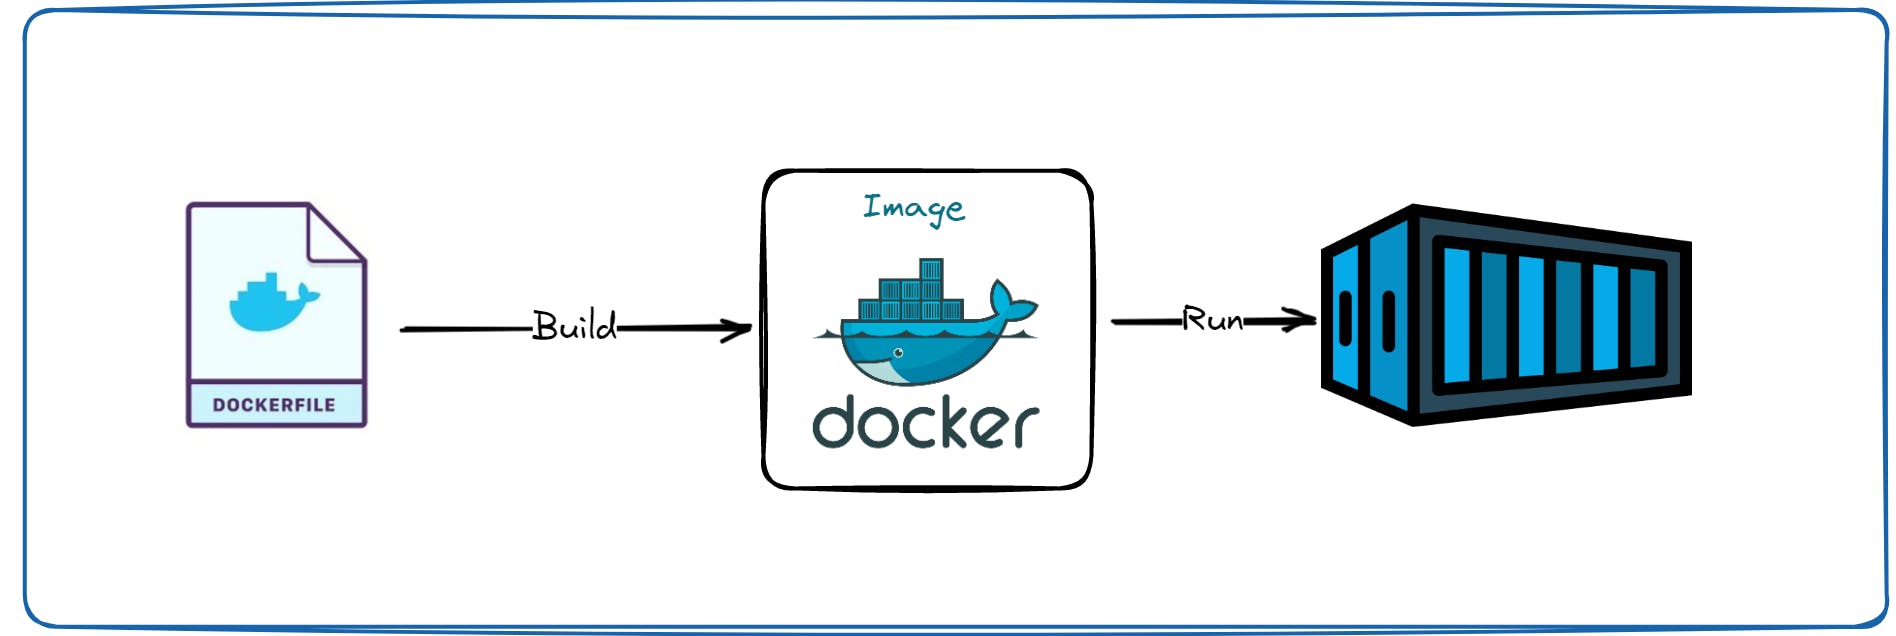
Dockerfile is a text document that contains commands to assemble an image and then docker can build an image by reading those instructions from docker file.
We're going to take a super simple Node js application that I prepared and we're going to write a docker file for that application to create a docker image out of it.
Create a Node js application
So first we have to create our simple node js application. So for that we are initializing our project and then writing our node js script(server.js).
npm init // created your package.json
const express = require('express');
const app = express();
// Make the public directory accessible to the client
app.use(express.static('public'));
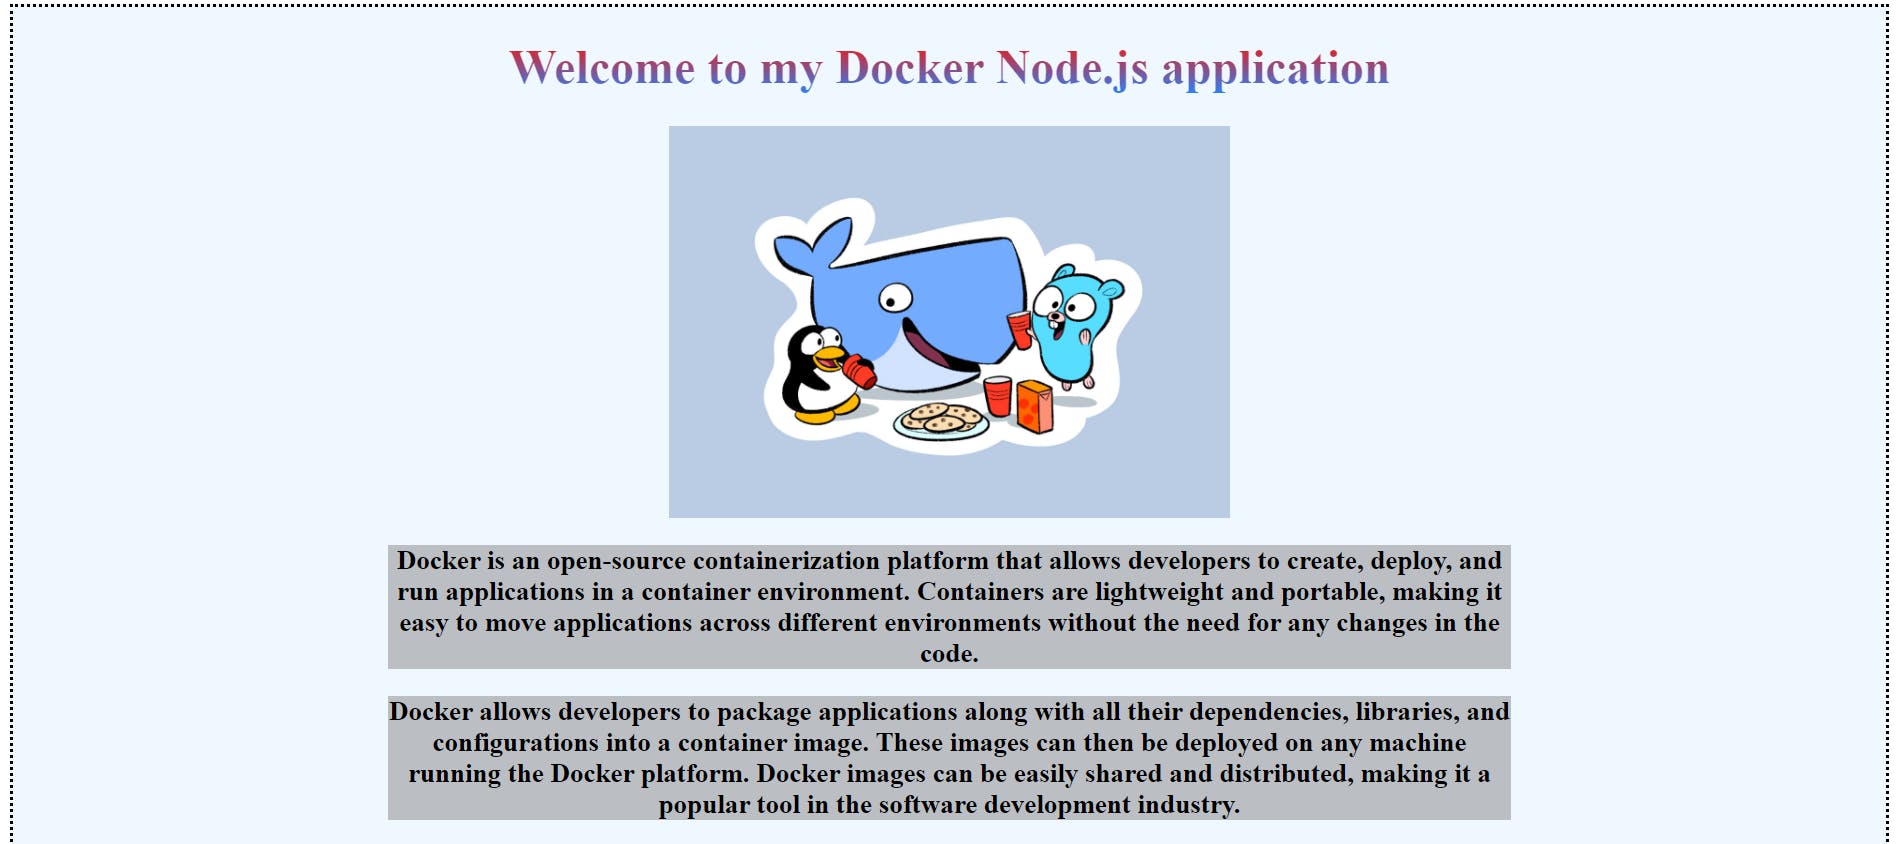
app.get('/', (req, res) => {
res.send(`
<div class="container" style="border: 2px dotted; background-color: aliceblue;">
<h1 align="center" style="
background: -webkit-linear-gradient(#ff1301, #2982f9);
-webkit-background-clip: text;
-webkit-text-fill-color: #25212100;
">Welcome to <span style="color:#000"> my Docker Node.js </span> application</h1>
<img align="center" src="/hii.jpeg" alt="My Image" style="
display: block;
margin-left: auto;
margin-right: auto;
width: 30%;
/* margin: 0px 10px 0 61px; */
">
<h3 align="center" style="
font-size: 18px;
width: 60%;
margin-left: auto;
margin-right: auto;
background: #80808078;
">Docker is an open-source containerization platform that allows developers to create, deploy, and run applications in a container environment. Containers are lightweight and portable, making it easy to move applications across different environments without the need for any changes in the code.</h3>
<h3 align="center" style="
font-size: 18px;
width: 60%;
margin-left: auto;
margin-right: auto;
background: #80808078;
">Docker allows developers to package applications along with all their dependencies, libraries, and configurations into a container image. These images can then be deployed on any machine running the Docker platform. Docker images can be easily shared and distributed, making it a popular tool in the software development industry. </h3>
<p align="left" style="
font-size: 18px;
margin-left:20px;
">In this project, we have created a Node.js application using various modules and dependencies. After developing the application, we proceeded to create a Docker image by writing a Dockerfile, which included the necessary steps to build the image. We built the image using the 'docker build' command and tagged it with a relevant name and version.
<br>
Next, we ran the container from the built image using the 'docker run' command. The container runs the application inside it, providing an isolated and consistent environment for the application to run in. We also exposed the required port to communicate with the container from the host machine.
<br>
Finally, we deployed the built Docker image to a Docker repository. The repository allows other users to access and use the image on their respective environments, ensuring consistency across all systems. This simplifies the deployment process, as users can easily access and deploy the required application without worrying about the environment setup.
</p>
</div>`);
});
app.get('/hii.jpeg', (req, res) => {
res.sendFile(__dirname + '/hii.jpeg');
});
app.listen(3000, () => {
console.log("app listening on port 3000");
});
So our server.js script is ready and now we have a bundle of these application data and dependencies in one docker image for that we have to write a docker file.
Write Dockerfile
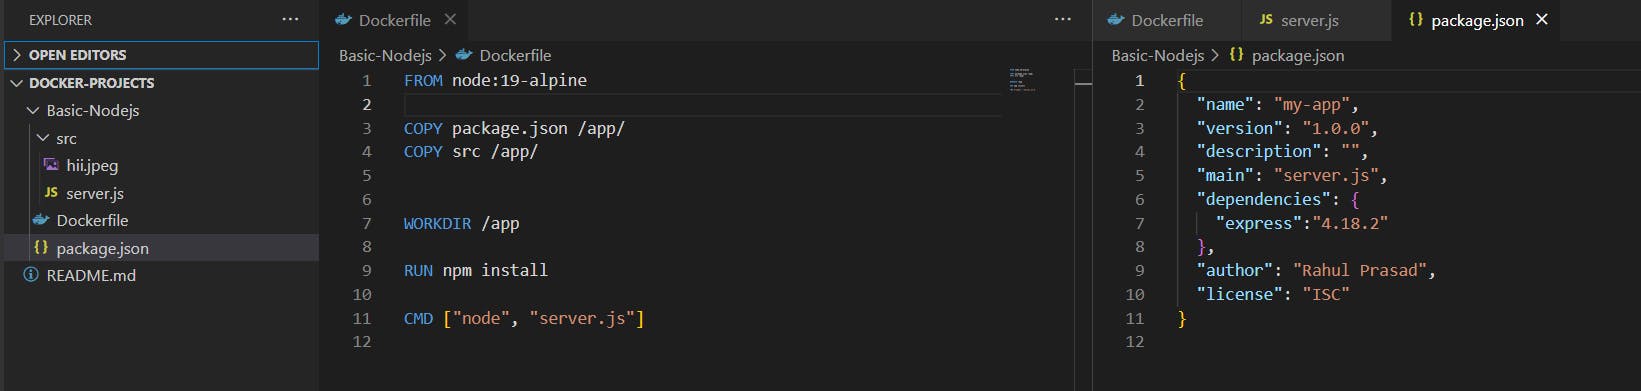
FROM node:19-alpine

COPY package.json /app/
COPY src /app/


WORKDIR /app

RUN npm install

CMD ["node", "server.js"]
Structure of Dockerfile,
FROM: Build an image from the specified image
RUN: It will execute any commands in the shell inside the container env
COPY: Copies files from <src> and add them to the filesystem of the container
while "RUN" is executed in a container and "COPY" is executed on the host
WORKDIR: Sets the working directory for all following commands like changing into a directory: "cd"
CMD: Instruction that is to be executed when the docker container starts. There can be only one "CMD" instruction in a docker file
Build Docker Image
Now we have to execute the docker command to build a docker image.
Name: node-app
Tag: 1.0 & Location is defined by "."
// to build image
docker build -t node-app:1.0 .

// to show all of our images
docker images

// run conatiner at 2000 port
docker run -d -p 2000:3000 node-app:1.0

// to check status of our container
docker ps

That's your terminal looks when you write that command, it is executing all of the instructions that you have written in your docker file one by one. Each instruction in the docker file creates one layer. These layers are stacked & each one is a delta of the changes from the previous layer.
Now if you do --> docker images in your terminal, we should see the image we have created (Node-app: 1.0).

Docker Container
Now we are going to run our image by running this command in the terminal by passing a parameter to start in detach mode & exposing the port at 2000 with the image name and version tag --> docker run -d -p 3000:3000 node-app:1.2
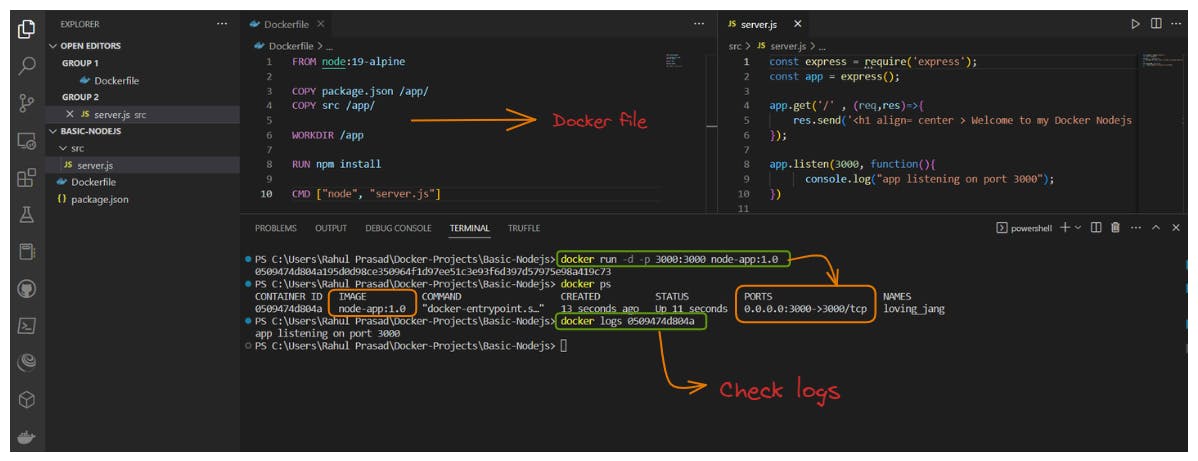
Hurry! our docker image is ready and it is successfully running on our port --> localhost:3000
To Publish our image on docker repository you have complete these following task
create an account at Dockerhub
Docker login at cli
Tag your docker image and push it to the dockerhub
// Docker login
docker login

// Tag your image
docker tag node-app:1.2 rahulprasad7/node-app:1.2

// Push it to DockerHub
docker push rahulprasad7/node-app:1.2

// check docker images and status of it
docker images
docker ps
Login to the docker account and tag it 👇


Push it to the docker hub repository 👇

Now your image [Project] is available to use publically with just one simple command 😃😍 --> docker pull rahulprasad7/node-app

What to conquer next? 😃
I hope this guide has helped you understand Docker and how to build and publish docker images to Docker Hub. Docker is a powerful tool that can streamline your application development and deployment process.
By using Docker, you can ensure that your applications run consistently across different environments and easily share your work with others.
- To fully harness the capabilities of Docker 🐳
It is imperative to gain a comprehensive understanding of its underlying principles, components, and functionality.
This requires learning Docker from the basics to advanced topics in-depth.
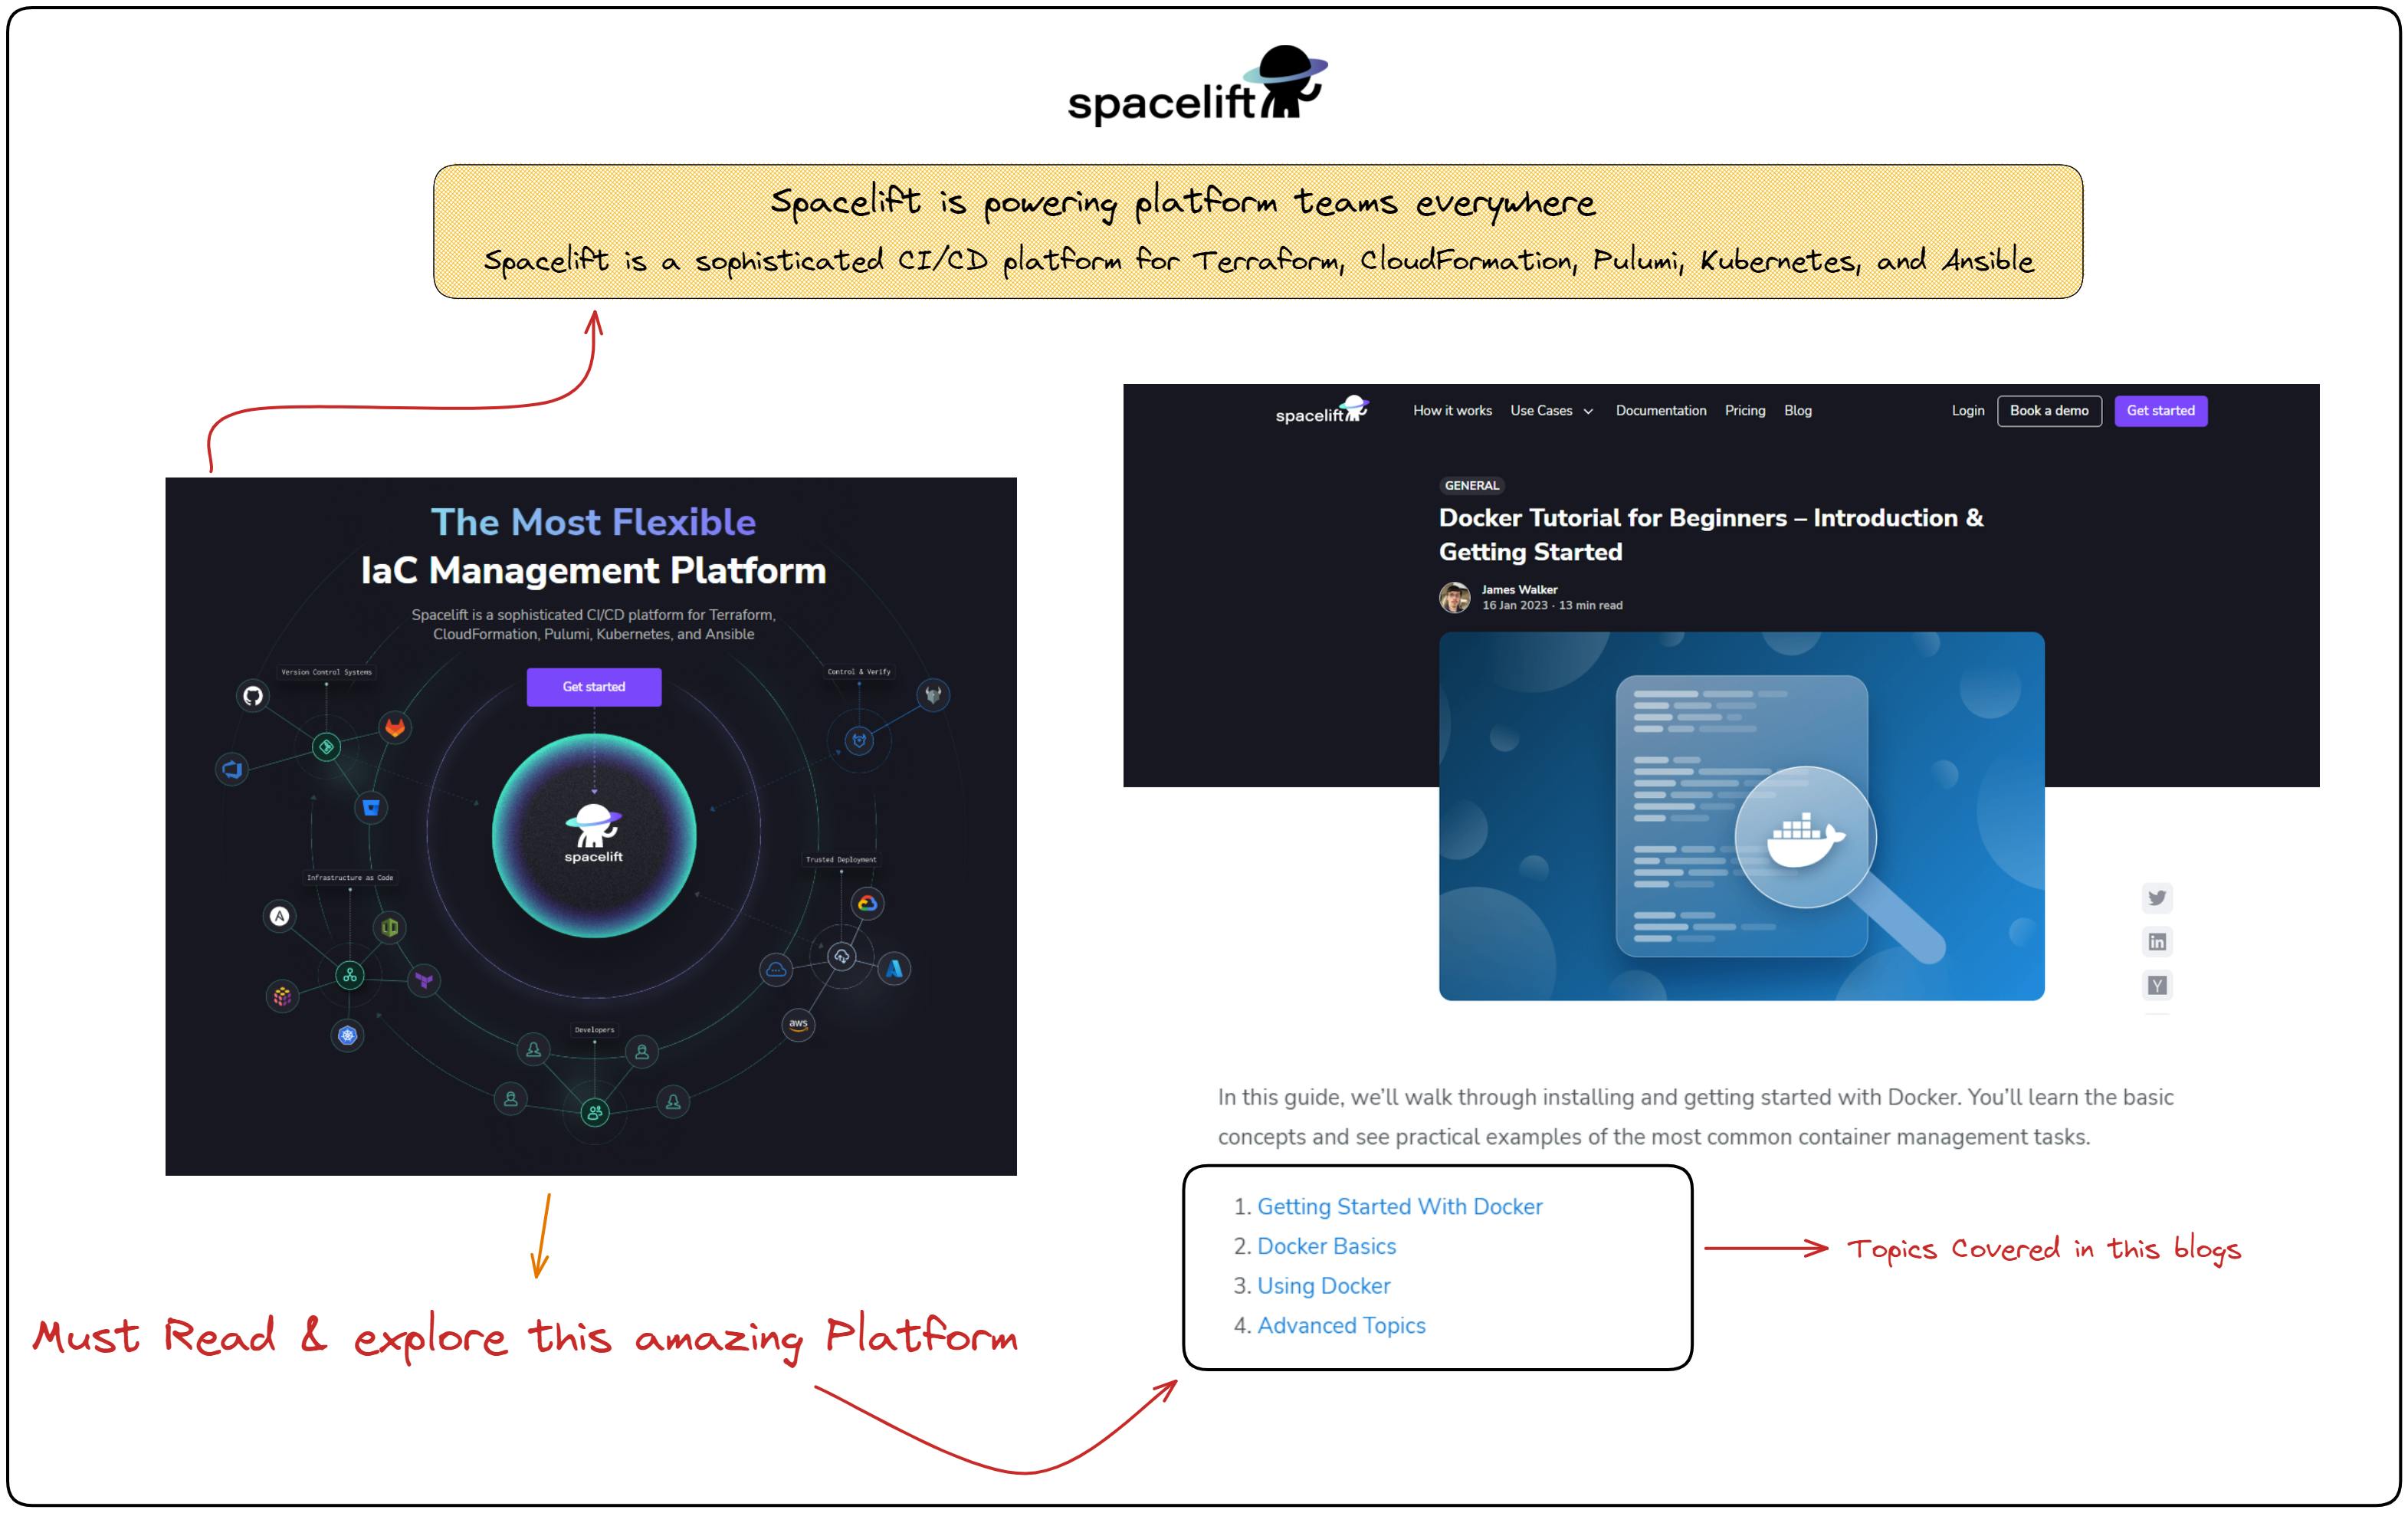
Fortunately, there are numerous resources available to assist in this endeavour, including an exceptional blog ~ Docker Tutorial for Beginners – Introduction & Getting Started authored by Spacelift.io.
- Looking ahead, our next project will be built using Docker Compose and Docker volumes. By continuing to learn and explore Docker's capabilities, we can further optimize our development and deployment processes and stay at the forefront of this exciting technology.
Thank you for your attention! ❤️
Keep exploring and experimenting with Docker to take advantage of its many features and capabilities. So stay tuned and let's continue to conquer Docker together!
If you have any further doubts related to it make sure to reach out on Twitter and Linkedin 😊 Happy coding!